Exit grids are in the misc list in the editor.
There are 3 different colours in the list, and 8 different blocks for each colour..
IMPORTANT!!!...ONLY USE THE GREEN ONES!!!
The brown and black ones do not work... they are for internal use to the editor only..
The 8 different blocks are in 4 groups.. 2 diagonal top left to bottom right, 2 go straight up and down, 2 straight right to left, and 2 diagonal top right to bottom left. ( the vertical ones appear to be blank, but aren't.)

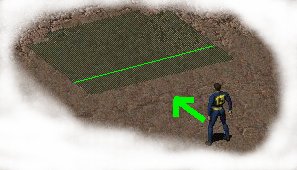
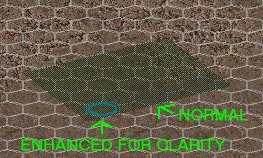
Turn on hexes and you will see that the "handle" is shown as a pale blue outlined hex at one end of the block... these blue hexes need to form a continuous line of hexes around all of the sides that the player can get to... this is what triggers when the player enters the grid, so there can be no gaps, or the player might slip past and into the grid without triggering it...
Exit grids do not automatically show up on the pip boy minimap, so you need to mark them.
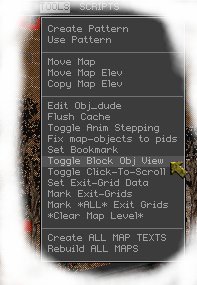
To do this you need to place exit grid markers ( scenery tile no 48 ) around the grid. These will be invisible, so turn on the "toggle block obj view" in the tools menu.
the exit grid markers show up as blue/grey hexes with the letters "EG" in them

Now that you have your exit grid placed and marked, you need to set it to go somewhere..
If you want it to send the player to the world map, leave it alone as the default setting will do just that.. ( if you press f8 to test the map, and press f8 again to stop the test mode, you will notice the editor has turned your green exit grid to brown. )
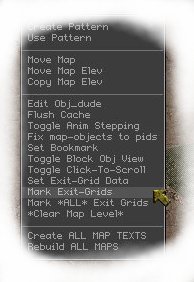
To set it to take you to another map then you need to set the exit grid data ( "set exit grid data" in the tool menu )
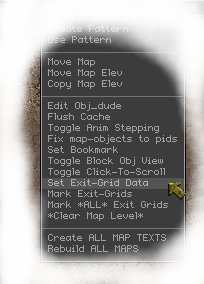
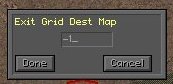
The exit grid data consists of 4 values.. dest map, dest tile no#, elevation, and rotation..
The first (dest map)is the number of the map you want it to send you to, which can be found in the maps.txt file (-1 sends you to the world map )
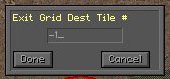
The second (dest tile no#) is the number of the tile you want to start on in the new map.. ( i think if you leave it as -1 it uses the hex you set with the "set start hex" option ). This is useful if you have more than 1 entrance to the map as you can put the player next to the right entrance..
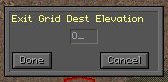
The third (elevation) is the elevation you want the player to start on.. ( note.. the game considers what the editor calls level 1 to be elevation 0.. level 2 to be elevation 1... and level 3 to be elevation 2..)
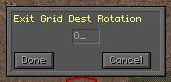
The fourth (rotation) sets the direction the player will be facing on the destination map..
Once the data is set, you need to mark which exit grid you want to use that data with. select "mark exit grid" from the tools menu..
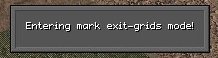
the editor will pop up a box saying "entering mark exit grid mode" ( or something like that ).
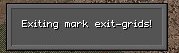
Just click on all of the grid pieces you want to set as going to the destination you set in exit grid data.. Press escape to exit "mark exit grid mode".. ( Important!! if you do not, you will be wondering why you can no longer place items and walls and stuff.. )
Repeat from "set exit grid data" for as many exit's as you have on your map...
NOTE!! there is NO way to check what destination a grid is set to..