This tutorial by Pixote is designed to help modders cut and convert tiles for Fallout 1/2. It is based on the fine work of bbmultipass and friends, who originally built the Photoshop action and the program for converting GIF’s to Fallout FRM’s.
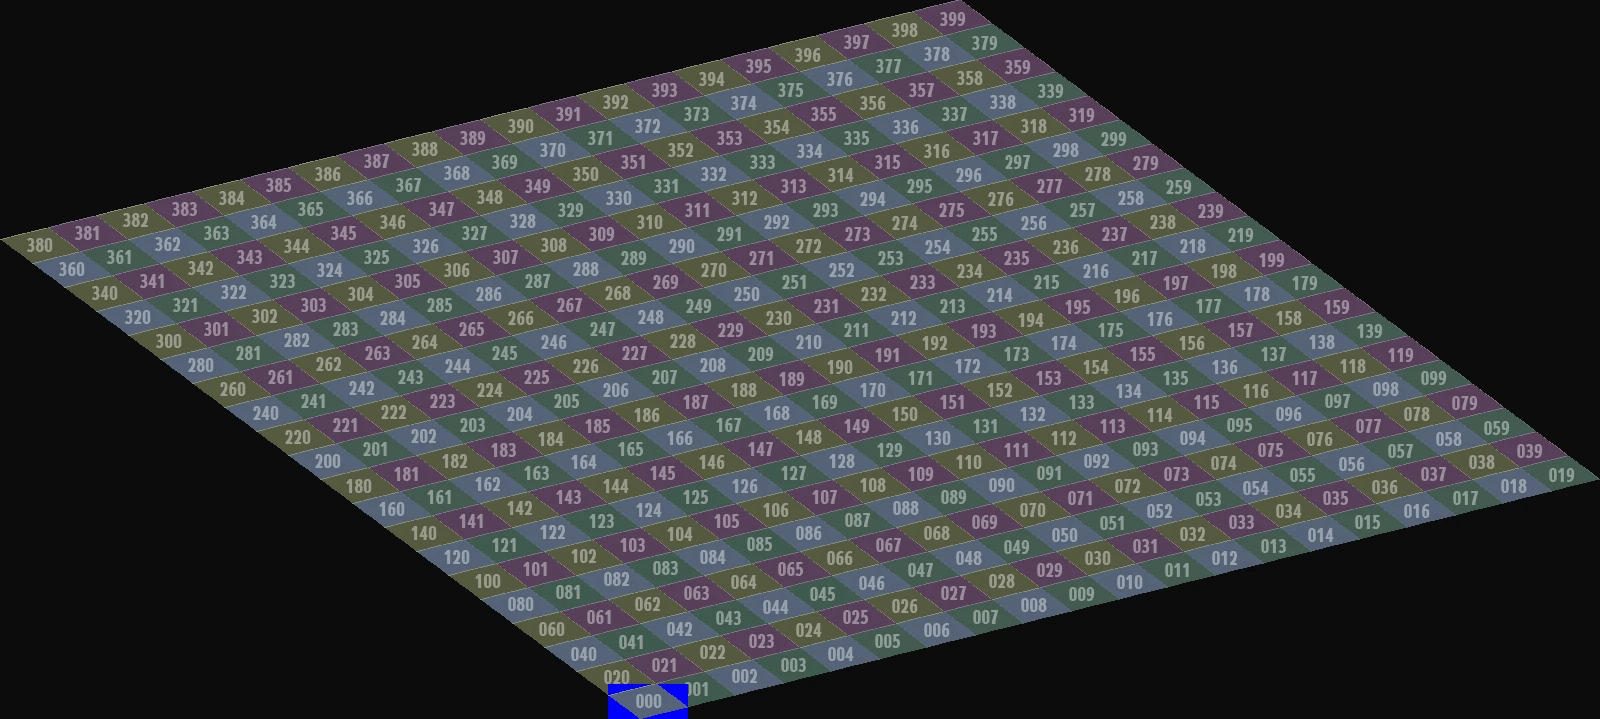
The only difference between the two is - this version makes 400 tiles, the original made 100 tiles, and the new Photoshop action cuts the tiles from the bottom left hand corner (000) to the top right hand corner (399).
The first thing you require is the folder Tiles. Inside the folder is the Photoshop file (PS - Tile Cutter), the Fallout color palette (Fallout Palette), the Photoshop action (Tilecutter 20x20), the program to convert the GIF’s to Fallout FRM's (Tilecutter), a folder named BIN, and finally the original readme file.
After opening the PS file (PS - Tile Cutter), you will notice the layer “tile mask”, it is being used as the template for cutting the tiles (It is the small blue box at position 000 - see above). Those images designed to be tiles must sit beneath this layer. Before running the action it is important to select the “tile mask” layer. Below is an example of a red brick dwelling soon to be made into roof tiles.

Steps…
- 1 - Place the folder “Tiles” on the desktop (c: drive).
- 2 - Load the action “Tilecutter 20x20” into Photoshop.
- 3 - Load the file PS file "PS - Tile Cutter".
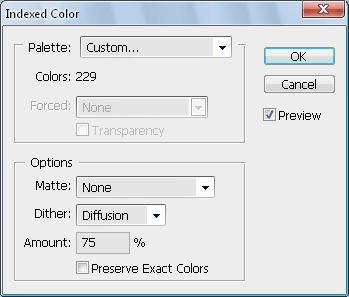
- 4 - Load the Fallout Palette (Tiles folder) - (Photoshop Menu bar - Image/Mode/Index Color, Palette tab – Custom…). Change the Dither to Diffusion, amount 75%.
- 5 - Load the image you want made into tiles. Drag the image underneath the layer “tile mask” and the layer “GRID”. Turn on the grid layer and adjust the images position; see above. Note your image must be surrounded by the blue alpha color used in Fallout (#0000ff).
- 6 - Turn off the grid layer. Turn on and select the “tile mask” layer (the small blue box).
- 7 - Push the play button for the “Tilecutter 000-399” action. The files will be saved as GIF’s (000 to 399) into the folder “Tiles” on the desktop.
- 8 - Delete all the blank blue GIF images. (You can get a lot of waste - this building takes up about half of the allotted 20x20 space, but the empty tiles can be easily deleted). See below.

- 9 - Rename your files. (Ex: 000 to RDBRK001). Use the program - File Renamer Basic. See below.

- 10 - Use the program Tilecutter to convert your GIF’s into working Fallout FRM’s. See below.

The finished example in the Fallout 2 mapper.

Good luck with the tile cutting – Pixote
External Links[]
- This tutorial can also be found here